Picture Rail Ideas: Adding Character with Traditional Mouldings
Picture rail ideas covering profiles, heights, and material choices. How to combine picture rails with skirting and coving for a coherent finish in York homes.

Picture rails are having a moment. Walk through any new development show home or scroll through enough Instagram interiors and you'll see them everywhere again, after about forty years of being seen as fussy or dated.
Most installations get one thing wrong though: the height. A picture rail at the wrong height makes a room look smaller, not taller, and breaks the proportion of the wall in a way that's hard to put your finger on but immediately feels off. Get the height right and the rail does its job, which is to add character and structure without you having to think about it.
What a picture rail actually does
Originally, picture rails provided a way to hang artwork without repeatedly fixing into the wall finish. Modern plaster can often accept suitable fixings, but the correct method depends on the wall construction, the load and the fixing type. Today, picture rails are usually chosen as much for proportion and character as for hanging pictures.
A picture rail divides the wall horizontally. That horizontal break does several things at once: it draws the eye upward, exaggerates ceiling height, frames a band of wall that can take a different colour or paper above the line, and ties the room to a period look without being pastiche.
It is also a traditional feature that can work in both period properties and modern homes when the profile, height and surrounding joinery are considered together.
Profile options
Picture rail profiles range from very plain to highly ornate. The choice should match the property era and the rest of the joinery in the room.
• Simple ogee: gentle S-curve profile, works in both period and modern settings. Probably the safest default if you're unsure.
• Torus: rounded convex profile, more substantial, suits Victorian terraces and Edwardian villas.
• Stepped or geometric: square edges with a small lip, suits Art Deco or 1920s/1930s properties.
• Bevelled: angled cut, clean and contemporary, works in modern homes alongside Shaker-style joinery.
Avoid heavily ornate profiles unless the property is genuinely period and the rest of the joinery (coving, skirting, architraves) matches. A fancy picture rail in isolation in an otherwise plain room looks like a costume piece.
Material choices
Three main options: traditional plaster, MDF, and hardwood.
Traditional plaster picture rails were the original material in Victorian and Edwardian properties. They're heavy, expensive, and difficult to fit in retrospect. Worth using if you're restoring a heritage property and want to match exactly what was there. Not worth the trouble for most contemporary installations.
Primed MDF is a common choice for painted picture rails because it is stable, smooth and available in many profiles. Once prepared and painted it can give a crisp finish, but it is not identical to hardwood: timber grain, durability, moisture behaviour and the option of a natural finish can all affect the material choice.
Hardwood (typically pine or oak) is the right call if you want to leave the rail stained or natural rather than painted. Rare in modern installations but used occasionally in country properties or where exposed beams and natural timber are part of the wider scheme.
Height: the part most installations get wrong
Picture rail height should relate to the ceiling, not to a fixed measurement. The general rule:
• For a 2.4m ceiling, a rail around 1.95m to 2.05m can be a useful starting point, subject to the coving, doors, windows and room proportions.
• For a 2.7m ceiling, around 2.1m to 2.2m can be a useful starting point, then adjusted to suit the room.
• For a ceiling of 3m or more, around 2.3m to 2.5m can be a useful starting point, with the final line set by the room's proportions and existing features.
The reason: the band of wall above the rail should be roughly one-fifth to one-quarter of the total wall height. Any less and the rail looks like it's been stuck on too close to the coving. Any more and the rail visually divides the room in half, which dwarfs everything below it.
If you have coving, allow at least 50mm between the top of the rail and the bottom of the coving. The two features need breathing room, otherwise they fight each other for attention.
Working with skirting, coving and dado rail
Picture rails rarely work in isolation. They live within a wider system of mouldings, and the whole system needs to feel coherent.
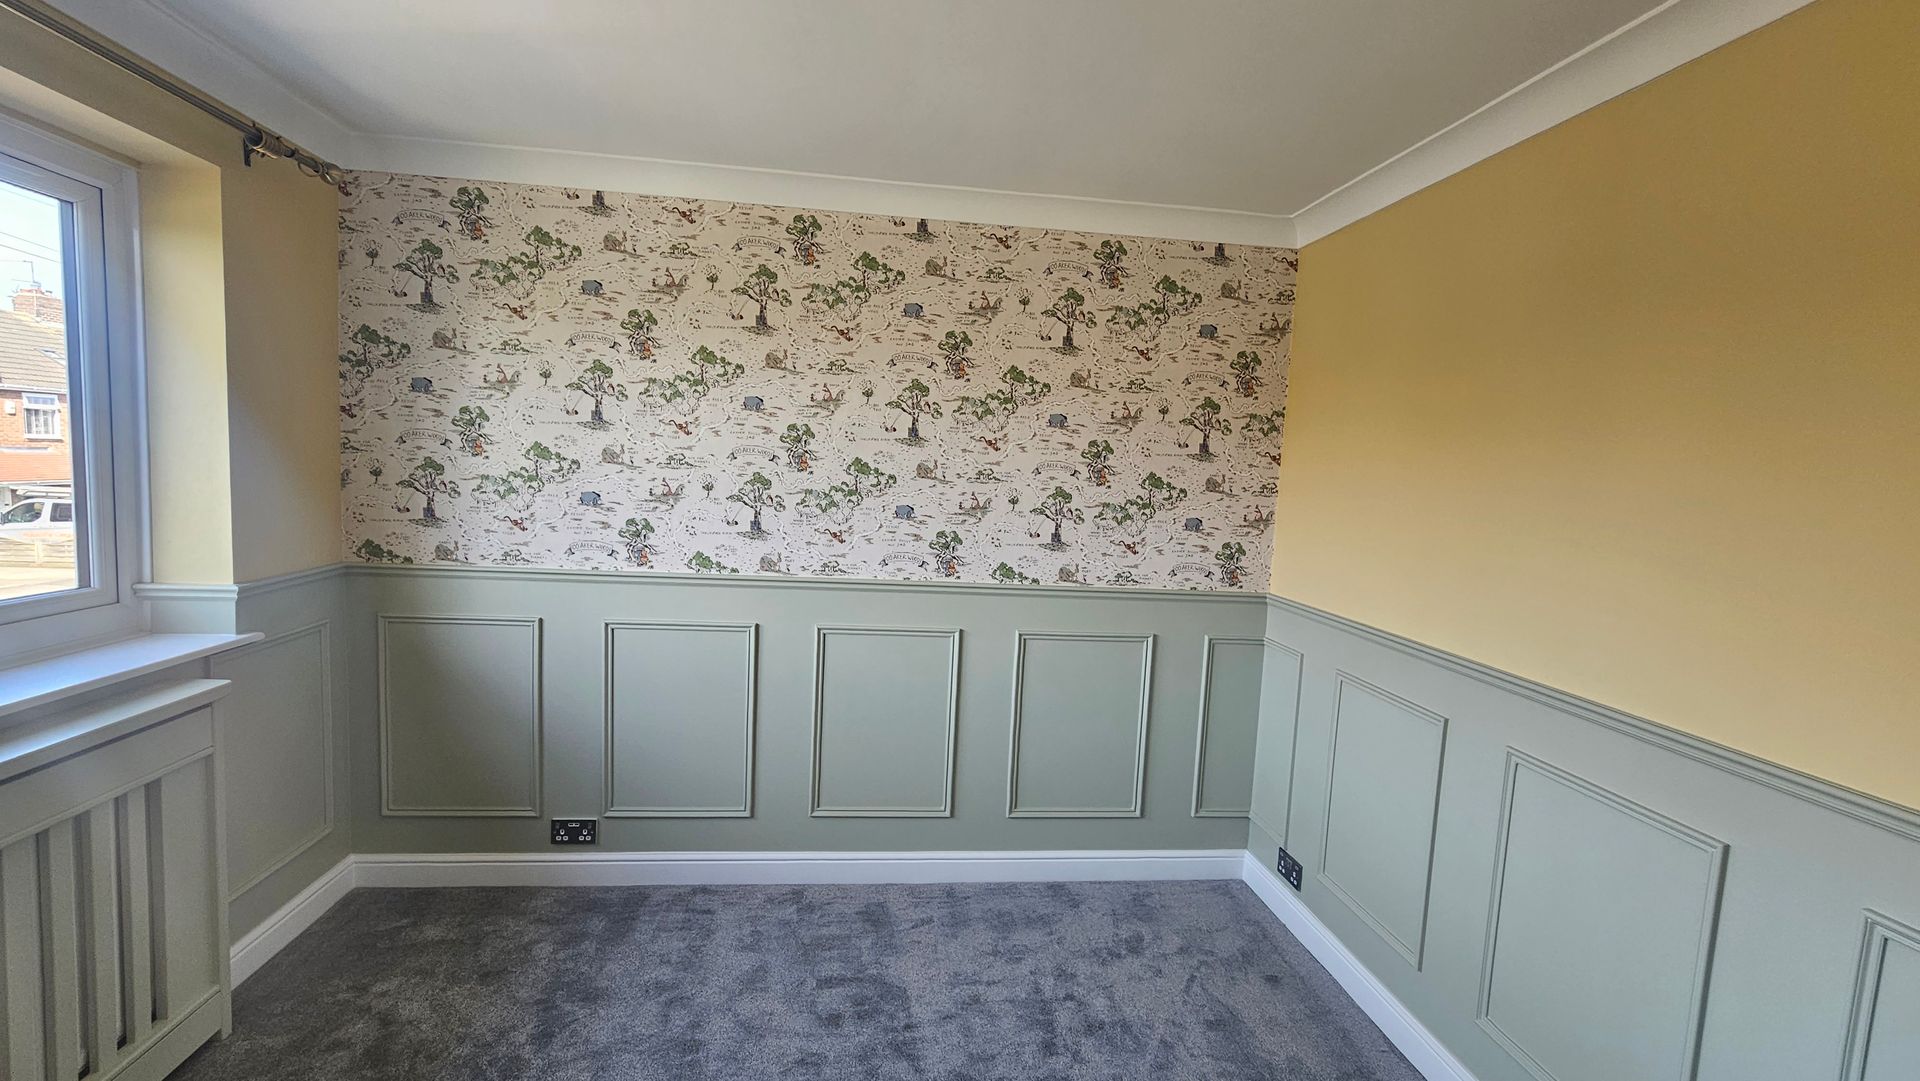
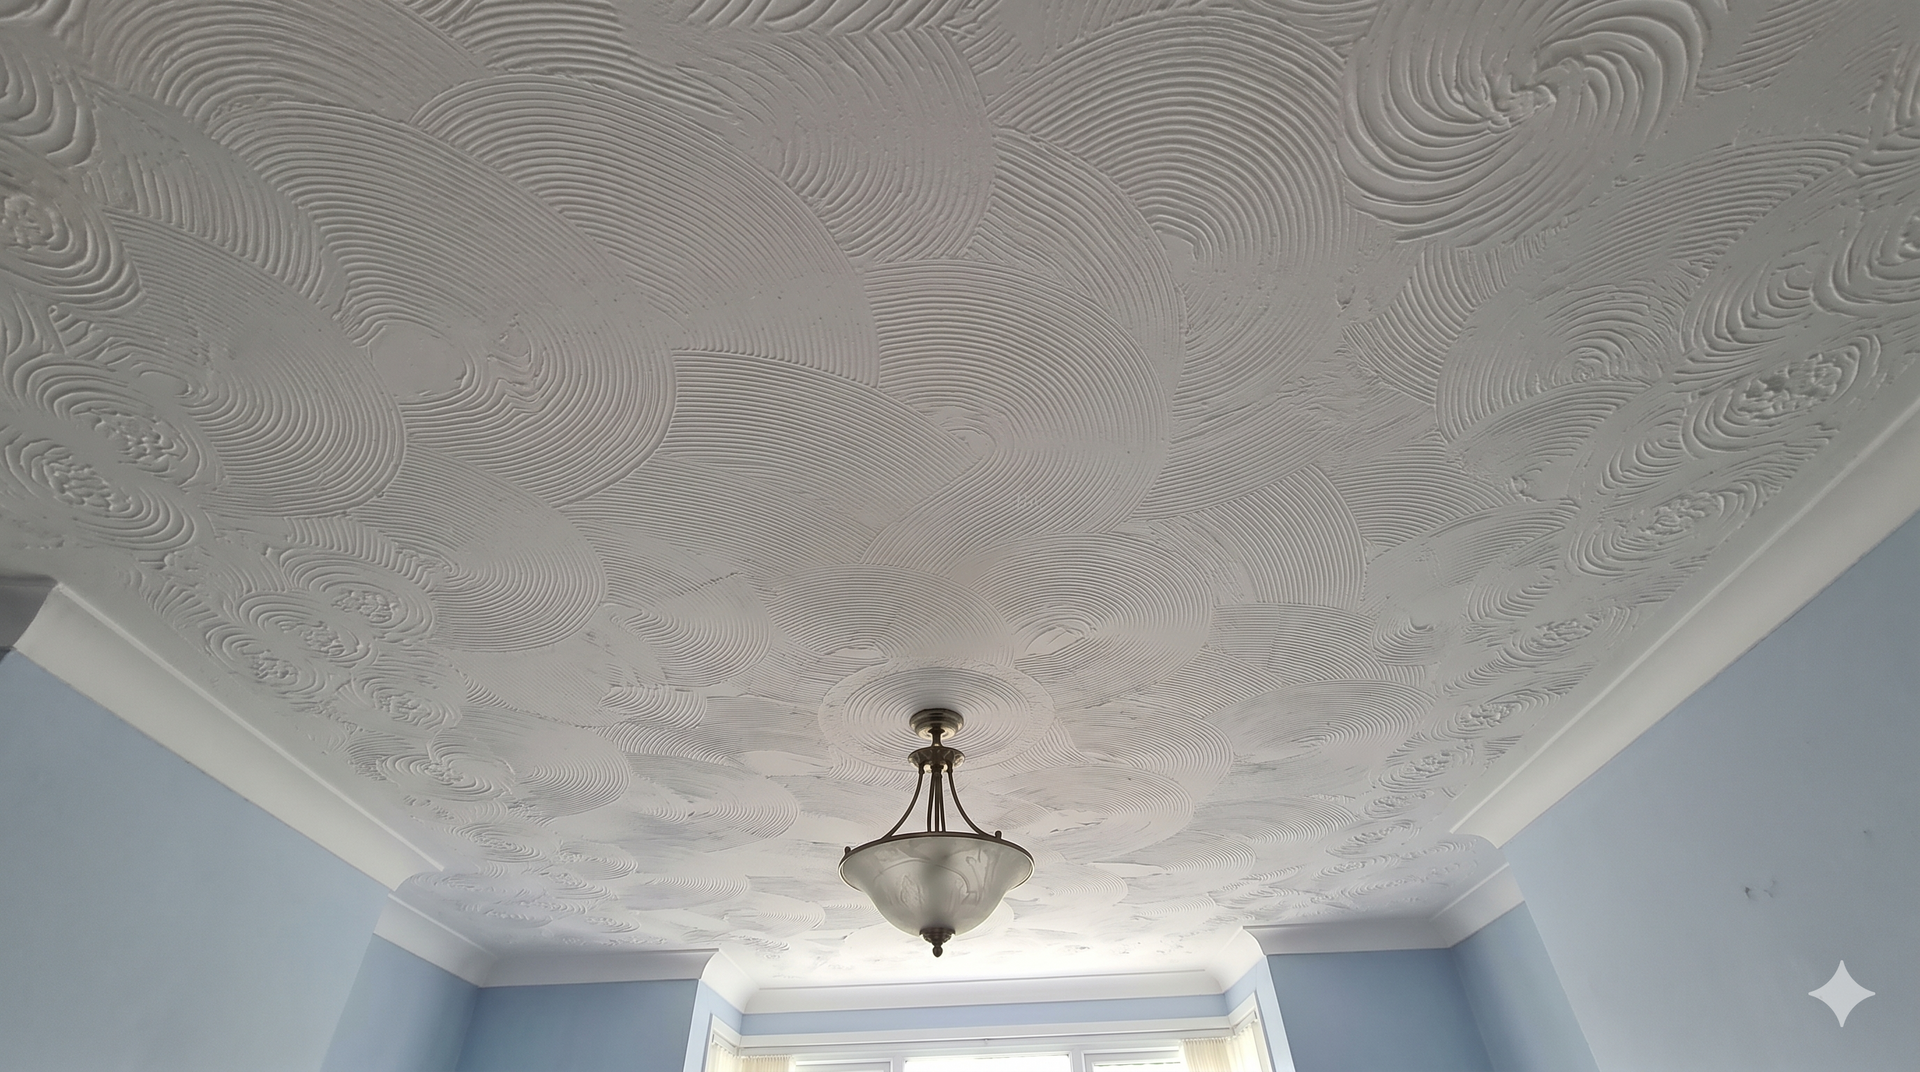
If you have decorative coving where the wall meets the ceiling, the picture rail profile should match or complement it (similar style of curves, similar level of ornament). A plain bevelled picture rail under a heavily ornate Victorian coving looks awkward. Match the formality.
Skirting follows the same logic. Tall ornate skirting in a Victorian room calls for a richer picture rail profile. Modern square-edge skirting works with simpler picture rails.
Dado rails are a separate question. Some rooms have all three (skirting, dado, picture rail) and divide the wall into four bands. This was common in Victorian dining rooms and high-status spaces. It's fairly intense in a smaller room and tends to look cramped unless ceiling height is generous (2.7m or above).
Painting and finishing
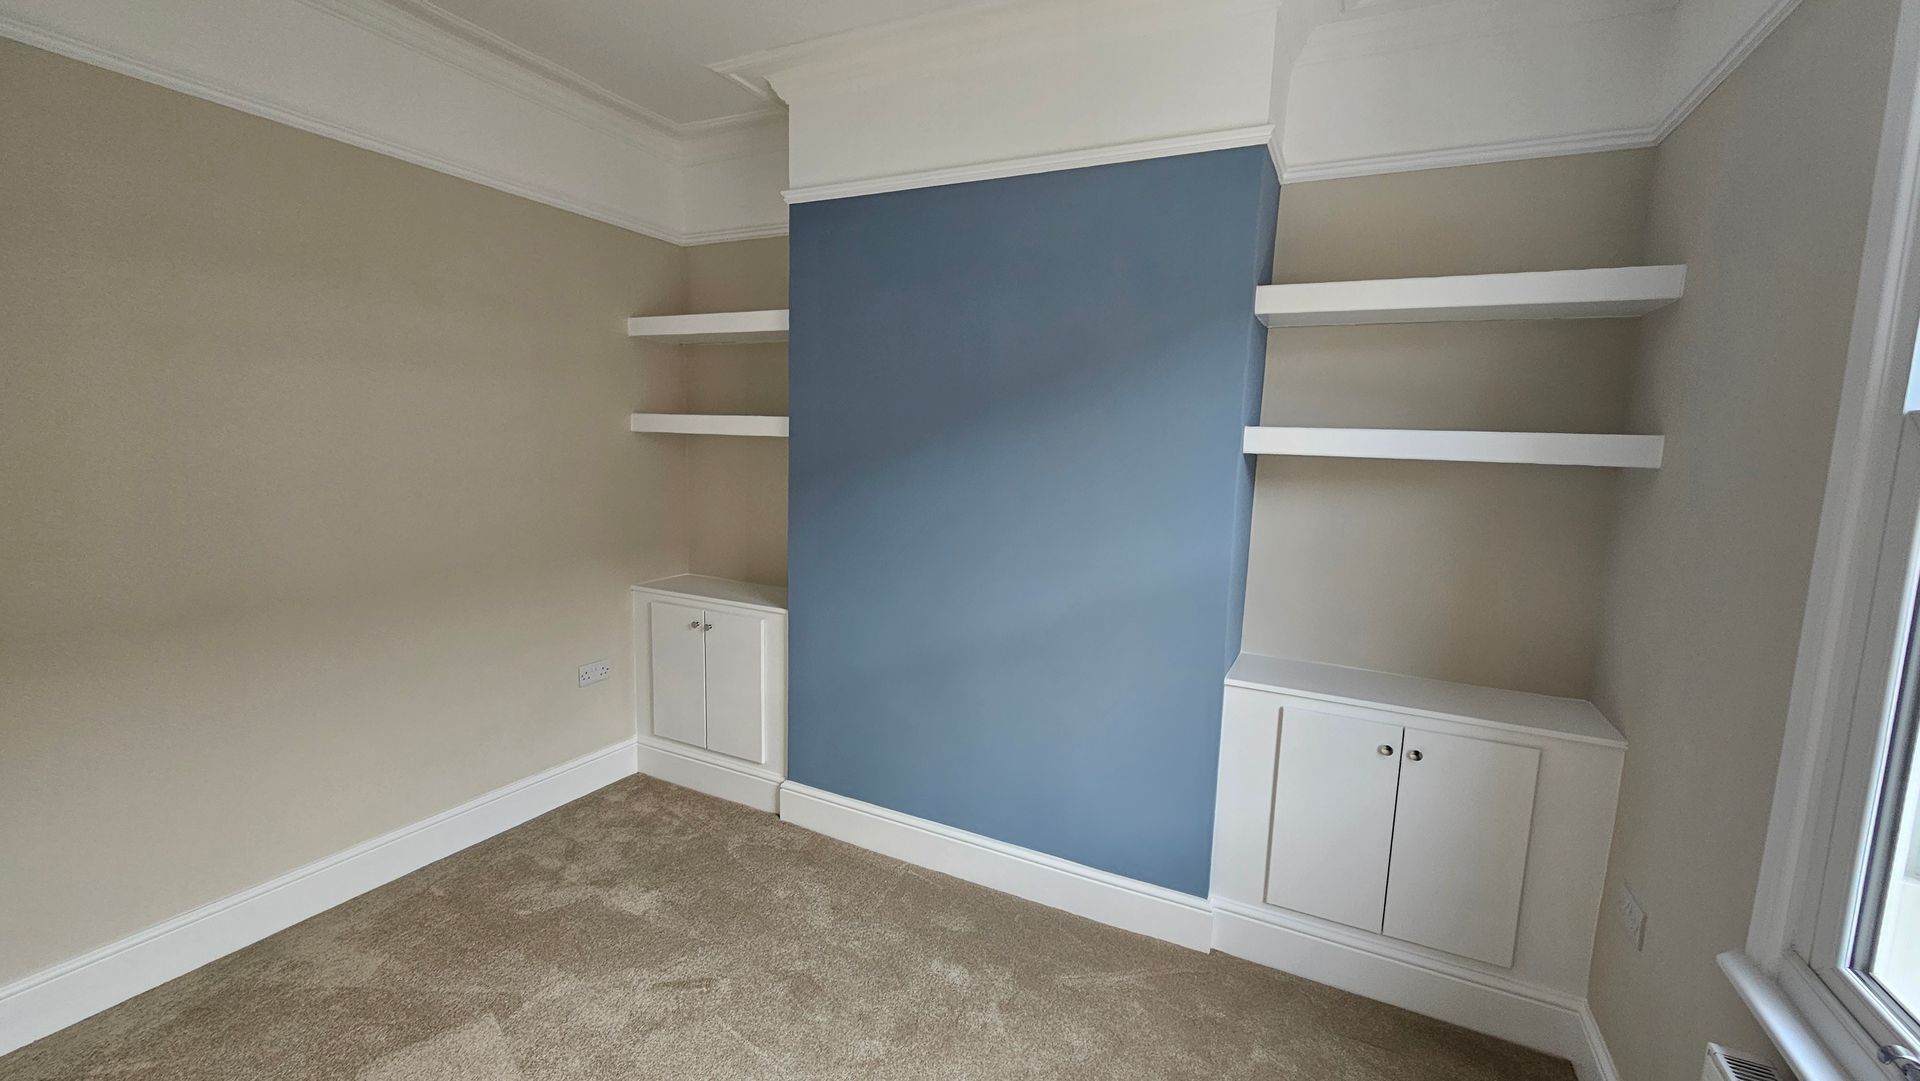
Two finishing strategies dominate. The traditional approach is to paint the rail the same colour as the skirting (usually white or off-white) so the mouldings form a frame around the wall. This was standard in Victorian and Edwardian decoration.
The modern approach is to colour-drench: paint the rail the same colour as the wall, letting the profile create shadow rather than contrast. This is more common in contemporary installations and works particularly well with deeper colours where the rail becomes a subtle texture rather than a divider.
Either way, the rail should be primed and given two coats of paint. Eggshell or satin holds up better than matt against scuffs and cleaning.
Period property considerations in York
York's housing stock is a mix of medieval through to modern, but most domestic picture rail work happens in three eras of property: Victorian terraces (1860 to 1900), Edwardian villas (1900 to 1914), and 1920s/1930s semis.
Original picture rails in these properties may have been removed during the 1960s and 1970s when stripped-back interiors were fashionable. You'll often see the faint shadow of a removed rail on older paintwork, or a clear horizontal line in the plaster where the rail was once fitted. We're often asked to reinstate the rail in roughly the original position. Use the shadow line as a starting point but check the height against the room's proportions before fitting.
In 1930s properties, picture rails were less common to begin with, but Art Deco-influenced stepped profiles work well where the room has the original cornicing or geometric features. Less is more in these properties.
Installation considerations
Picture rail installation looks simple. A long straight piece of timber against a wall, fixed and painted. The reality is that very few walls are perfectly straight, especially in older York properties, and a picture rail amplifies every dip and bow because the eye reads it against the horizontal.
A good installation involves: levelling the rail against a chalk line or laser rather than relying on the ceiling (which is often not level itself), scribing the rail to the wall where the wall waves, mitring or coping internal and external corners (rather than butting them), and filling and sanding before paint.
Mitred external corners look sharpest. Coped internal corners are more forgiving of wall movement. We tend to cope internals and mitre externals as standard on our 2nd fix joinery work.
Free quotation
Picture rail installation is part of our 2nd fix joinery service alongside skirting, architraves, doors, and MDF panelling. We work across York and the surrounding villages, with all work covered by our 12-month guarantee. Call 07940 099 976 or visit our contact page for a free, no-obligation quote. For larger renovation work where picture rails are part of a wider scope, our York Renovation service handles the full project from initial design through to final decoration.