House Renovation: The Right Order of Works
The right order to tackle a full house renovation. What goes wrong when trades happen out of sequence, and how to avoid expensive rework. Practical guide from a York renovation team.
Every experienced tradesperson has watched recent work undone because the sequence was wrong: a tiled bathroom floor lifted before the new pipework had been fully checked, or a freshly painted ceiling opened again for lighting that was not planned at first fix.
Renovation isn't just about finding good trades. It's about running them in the right sequence. Get the order wrong and you'll pay for the same surface twice. Get it right and the project flows, each trade handing cleanly to the next.
Here's the order we follow on full house renovations in York, with the reasoning for each stage and the most common mistakes we see when people try to manage the sequence themselves.
Why order matters
Renovation works on layers. Structural and dirty trades go first because they damage finished surfaces. Wet trades follow, because they introduce moisture that needs to dry before anything sensitive sits on top. Decoration comes last because it's the only stage you can't easily protect with dust sheets.
Skip a layer or reverse two stages and you create what builders call a snagging cascade: one fault creates several downstream repairs. A bath fitted before the floor build-up is ready can move; an undecided flooring and skirting junction can leave gaps or force rework; and decorating before plaster repairs are complete leaves visible scars.
The right order also lets each trade work cleanly. A plasterer in an empty, stripped room finishes twice as fast as one working around fitted units and protected floor coverings. Time saved on each stage compounds across a project.
Phase 1: Strip out and structural
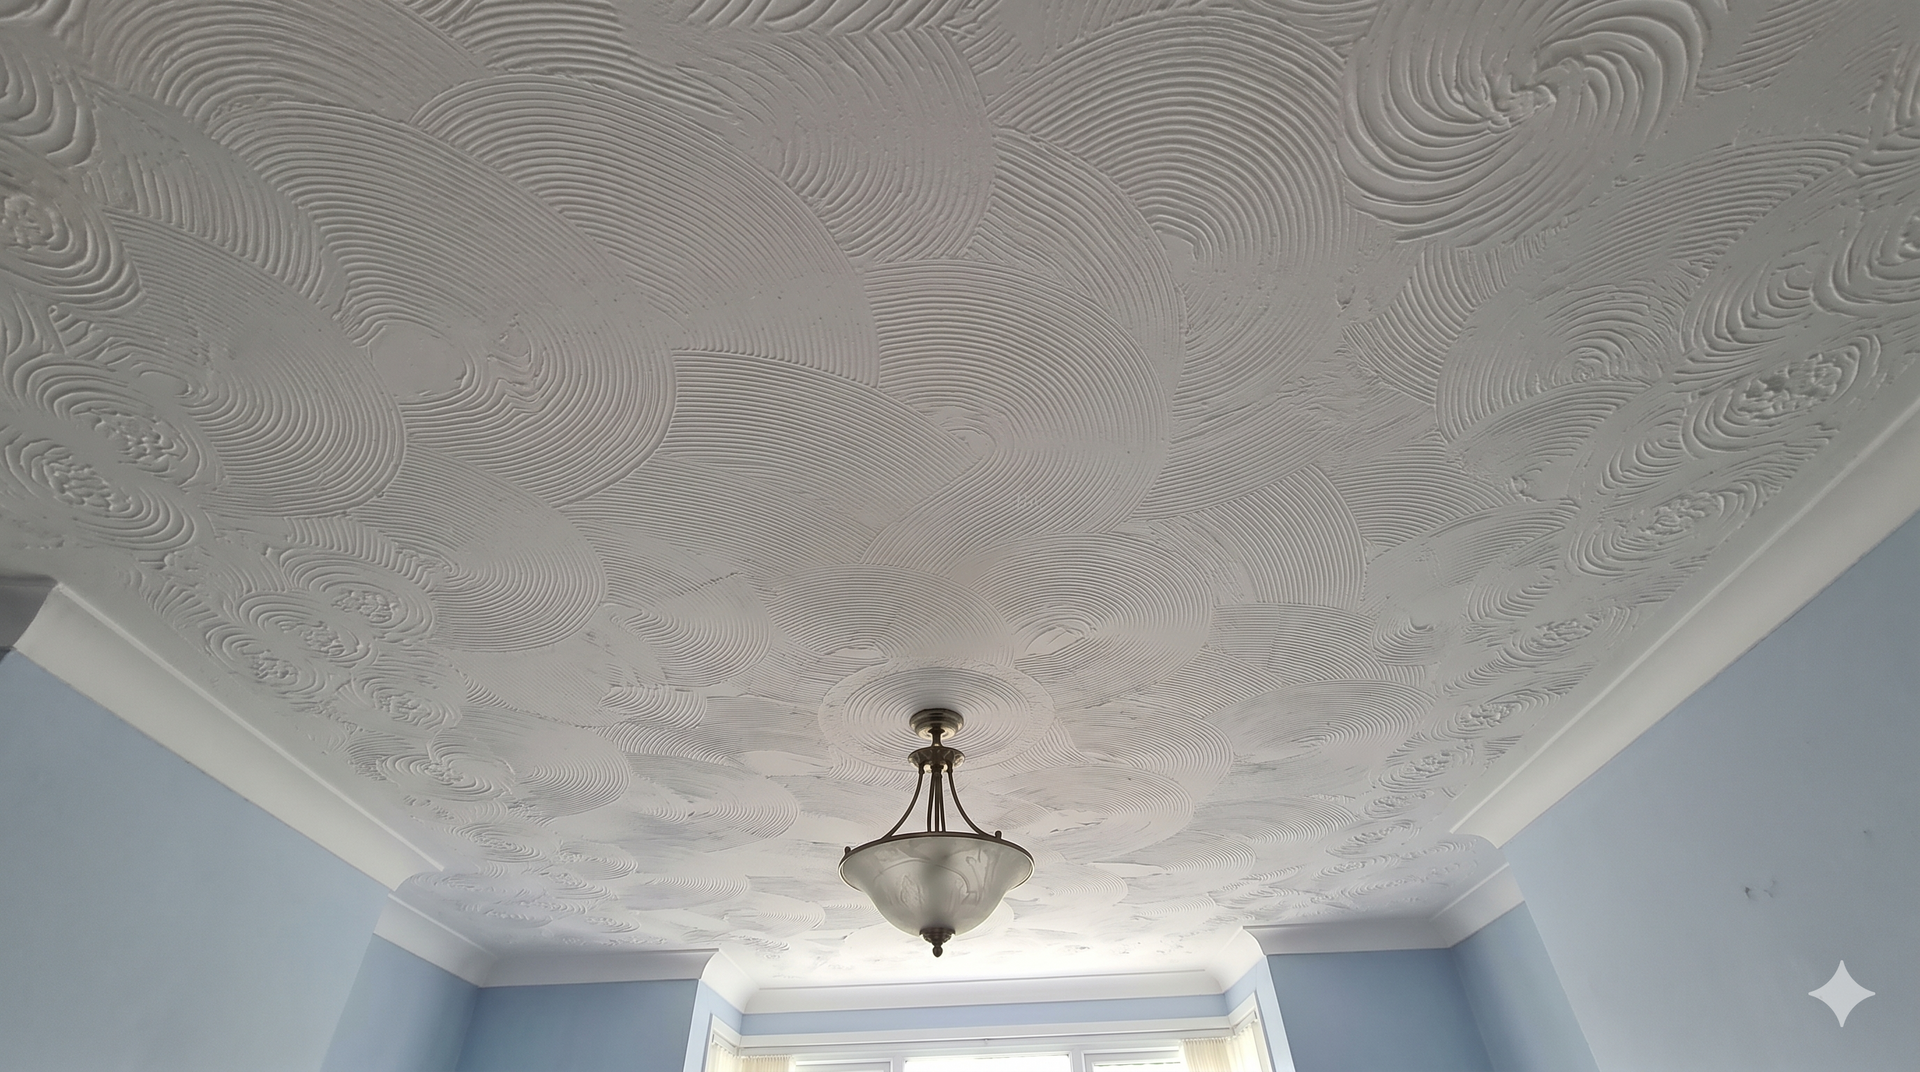
First three weeks of any full renovation. Everything that's coming out comes out: kitchens, bathrooms, flooring, internal doors, picture rails, dated skirting, ceilings if Artex is involved. Walls that are going get knocked through. Walls that are new get framed and built up.
This is also when structural surveys, building-control requirements for load-bearing changes and any moisture-related investigation should be addressed. Damp should be diagnosed before specifying treatment: condensation, leaks, penetrating damp and ground moisture need different remedies, and blanket damp-proofing is not a substitute for identifying the cause. If you want to know whether your walls need replastering before the renovation starts, our guide on how to spot when your walls need replastering covers the main warning signs.
By the end of this phase the house should be a shell. Bare walls, exposed floor joists or screed, electrics off, plumbing capped. It feels alarming. It's also the only honest starting point for a proper renovation.
Phase 2: First fix
First fix means everything that gets buried inside the walls and floor before plastering. Electricians chase out cable runs and fit back boxes. Plumbers run pipework for new bathrooms, kitchens, and any relocated radiators. Carpenters build any new stud walls, fit ceiling joists if needed, and frame openings.
This is the single most important phase to plan properly because you can't change your mind cheaply after this point. Every socket position, every light switch, every TV point, every kitchen tap, every shower outlet has to be marked up before plastering goes on. We always recommend walking through every room with the homeowner at the start of first fix, with a pencil and the floor plan, and marking every electrical and plumbing position on the wall in chalk.
Common first fix mistakes include too few sockets for the way a room will actually be used, TV cabling that does not suit the planned screen position, an unplanned underfloor-heating manifold, or missing ventilation routes in bathrooms. Positions and quantities should follow the design, appliance loads and current electrical requirements rather than a fixed rule per metre.
First fix should finish with a snagging walk: every position checked, every height confirmed, every cable labelled. After plastering, none of it is visible until decoration.
Phase 3: Plastering and ceilings
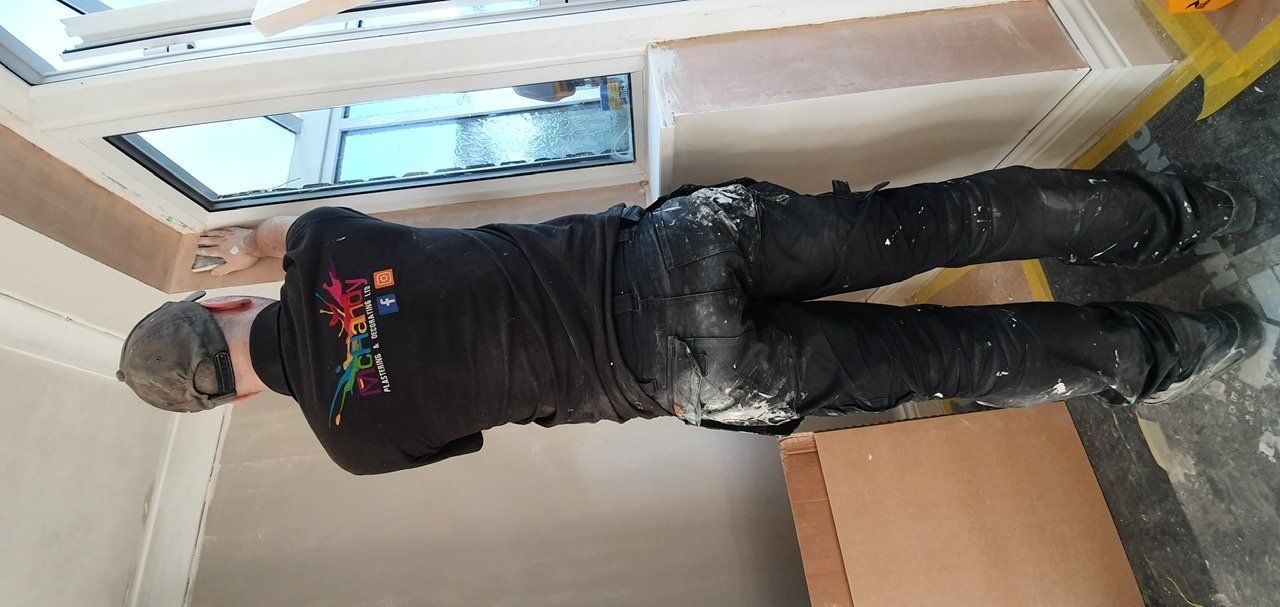
Plasterboarding, skimming, and any Artex remediation happens after first fix and before any joinery or flooring. This is the messiest single phase of a renovation, with weeks of wet plaster, drying time, and dust. Our plastering and decorating services cover the full range: plasterboarding new stud walls, skimming existing walls back to a flat finish, dry lining brickwork to insulate or level, and dealing with ceilings.
Plaster needs to dry properly before anything else happens on top of it. Drying time varies with the season: in summer with windows open, a freshly plastered room is ready for paint in five to seven days. In winter with central heating off (because nobody wants to dry plaster too fast and crack it), the same room needs ten to fourteen days. The whole project schedule has to allow for this.
Mist coat goes on as soon as the plaster is dry but before any other trade comes back in. The reason: bare plaster picks up scuffs, marks, and dust easily, but a mist-coated wall is sealed and easy to wipe down. Painters often come back later for full coats, but the mist coat happens straight after drying.
Phase 4: 2nd fix joinery
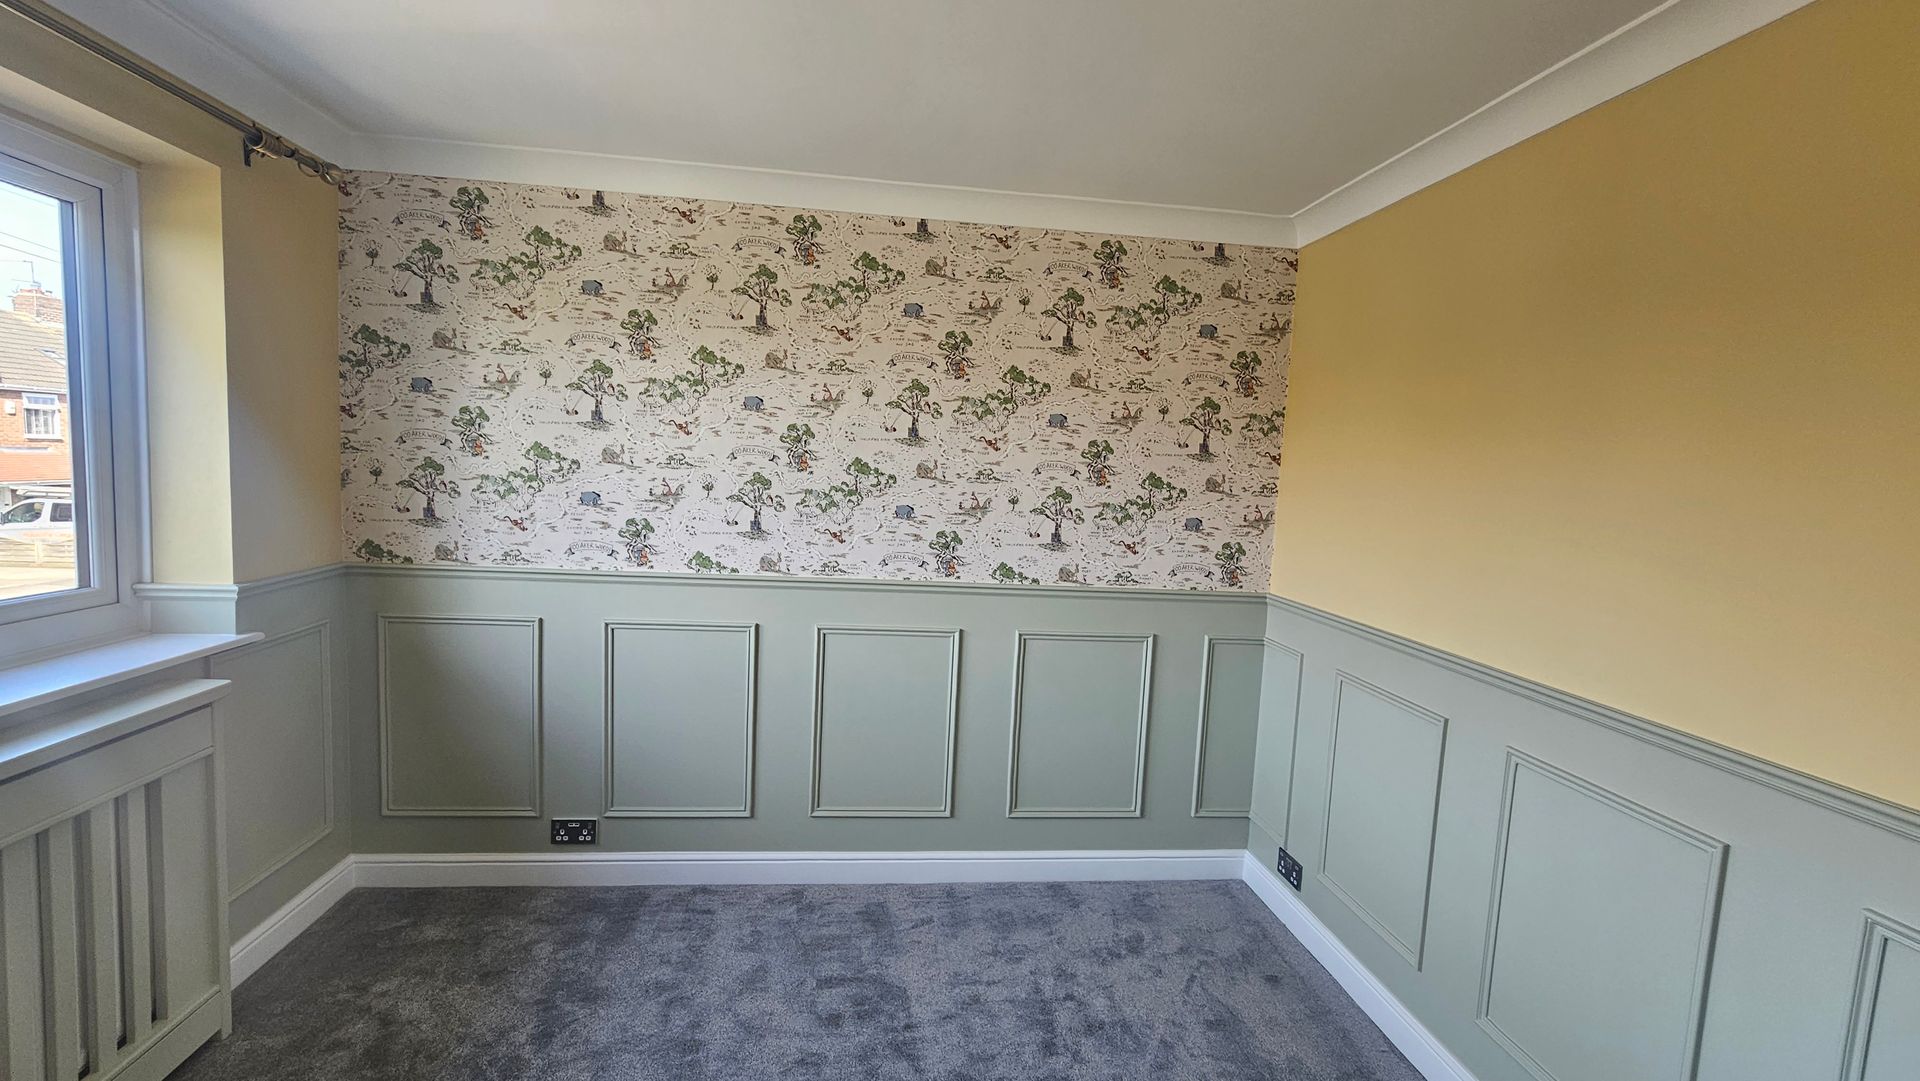
Second fix is where the house starts to look finished. Internal doors get hung. Architraves go up around the door frames. Skirting boards fit at the bottom of every wall. Picture rails, dado rails, MDF panelling, kitchen carcasses, and built-in wardrobes all happen in this phase.
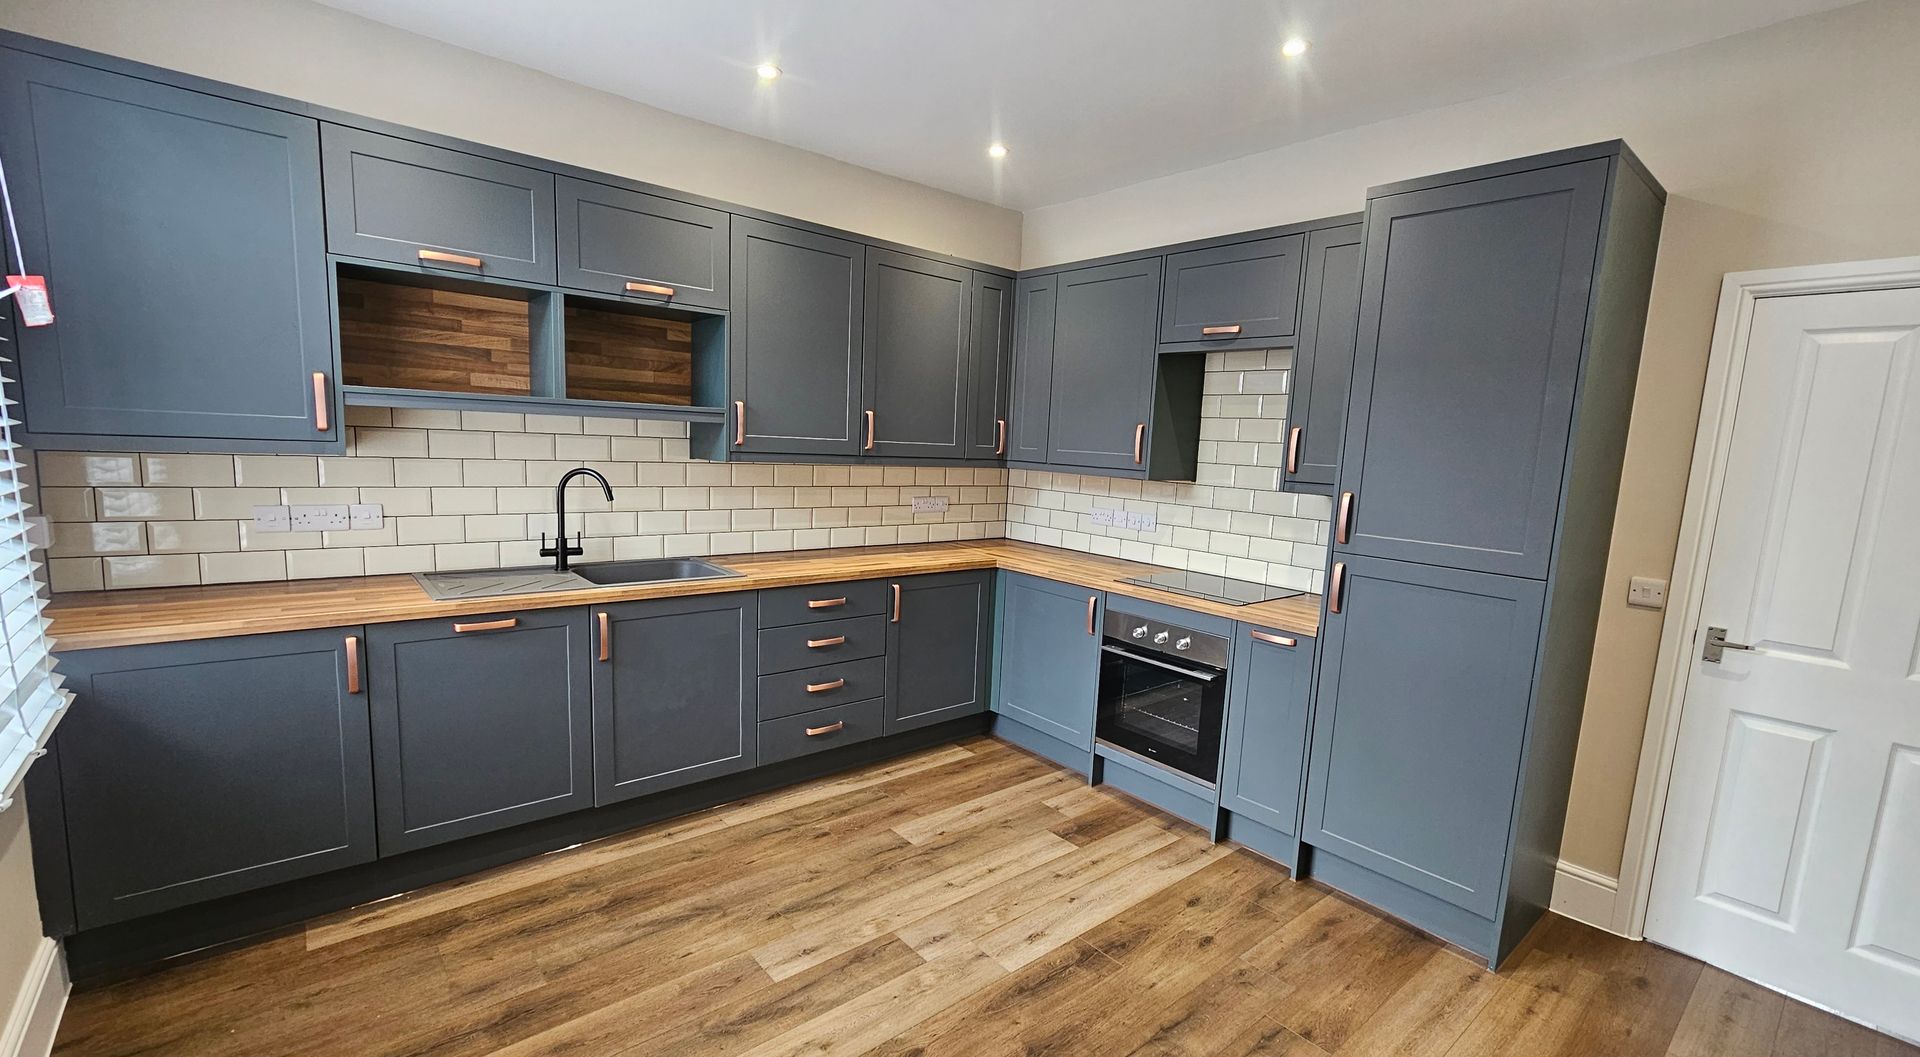
Order within second fix matters too. Doors and architraves need to coordinate with skirting, flooring and decoration. Kitchen and bathroom units must be sequenced with tiling according to the chosen detail, worktops are templated after carcasses are level and fixed, and built-ins are timed around whether they will be painted in situ or arrive factory-finished.
A common second-fix mistake is leaving the flooring-and-skirting junction undecided. Carpet is commonly fitted up to completed skirting, while many laminate and engineered-wood floors are installed with an expansion gap later concealed by skirting or another agreed detail. Tiles and thresholds introduce their own junctions. Confirm the flooring product and edge detail before second fix so the trades follow one coordinated sequence.
Phase 5: Decoration
Painting, wallpapering, and any specialist finishes happen near the end. Walls get full paint coats over the mist coat from Phase 3. Woodwork (skirting, architrave, doors, picture rails, panelling) gets primed and painted. Ceilings, if they haven't been done already, get their final coat. Wallpaper hangs.
Spray finishes happen as part of decoration if used. We spray kitchen cabinetry, internal doors, radiators, UPVC, and furniture as part of full renovation packages where the project specifies a sprayed finish rather than brush and roller. The advantage is a factory-quality finish that's hard to achieve by hand. The drawback is the prep: spraying needs everything around the spray zone masked completely, and is best done when no other trades are working. If you're weighing up whether to replace kitchen cabinetry or spray it during a renovation, our guide on kitchen cabinet spraying vs replacing walks through the trade-offs.
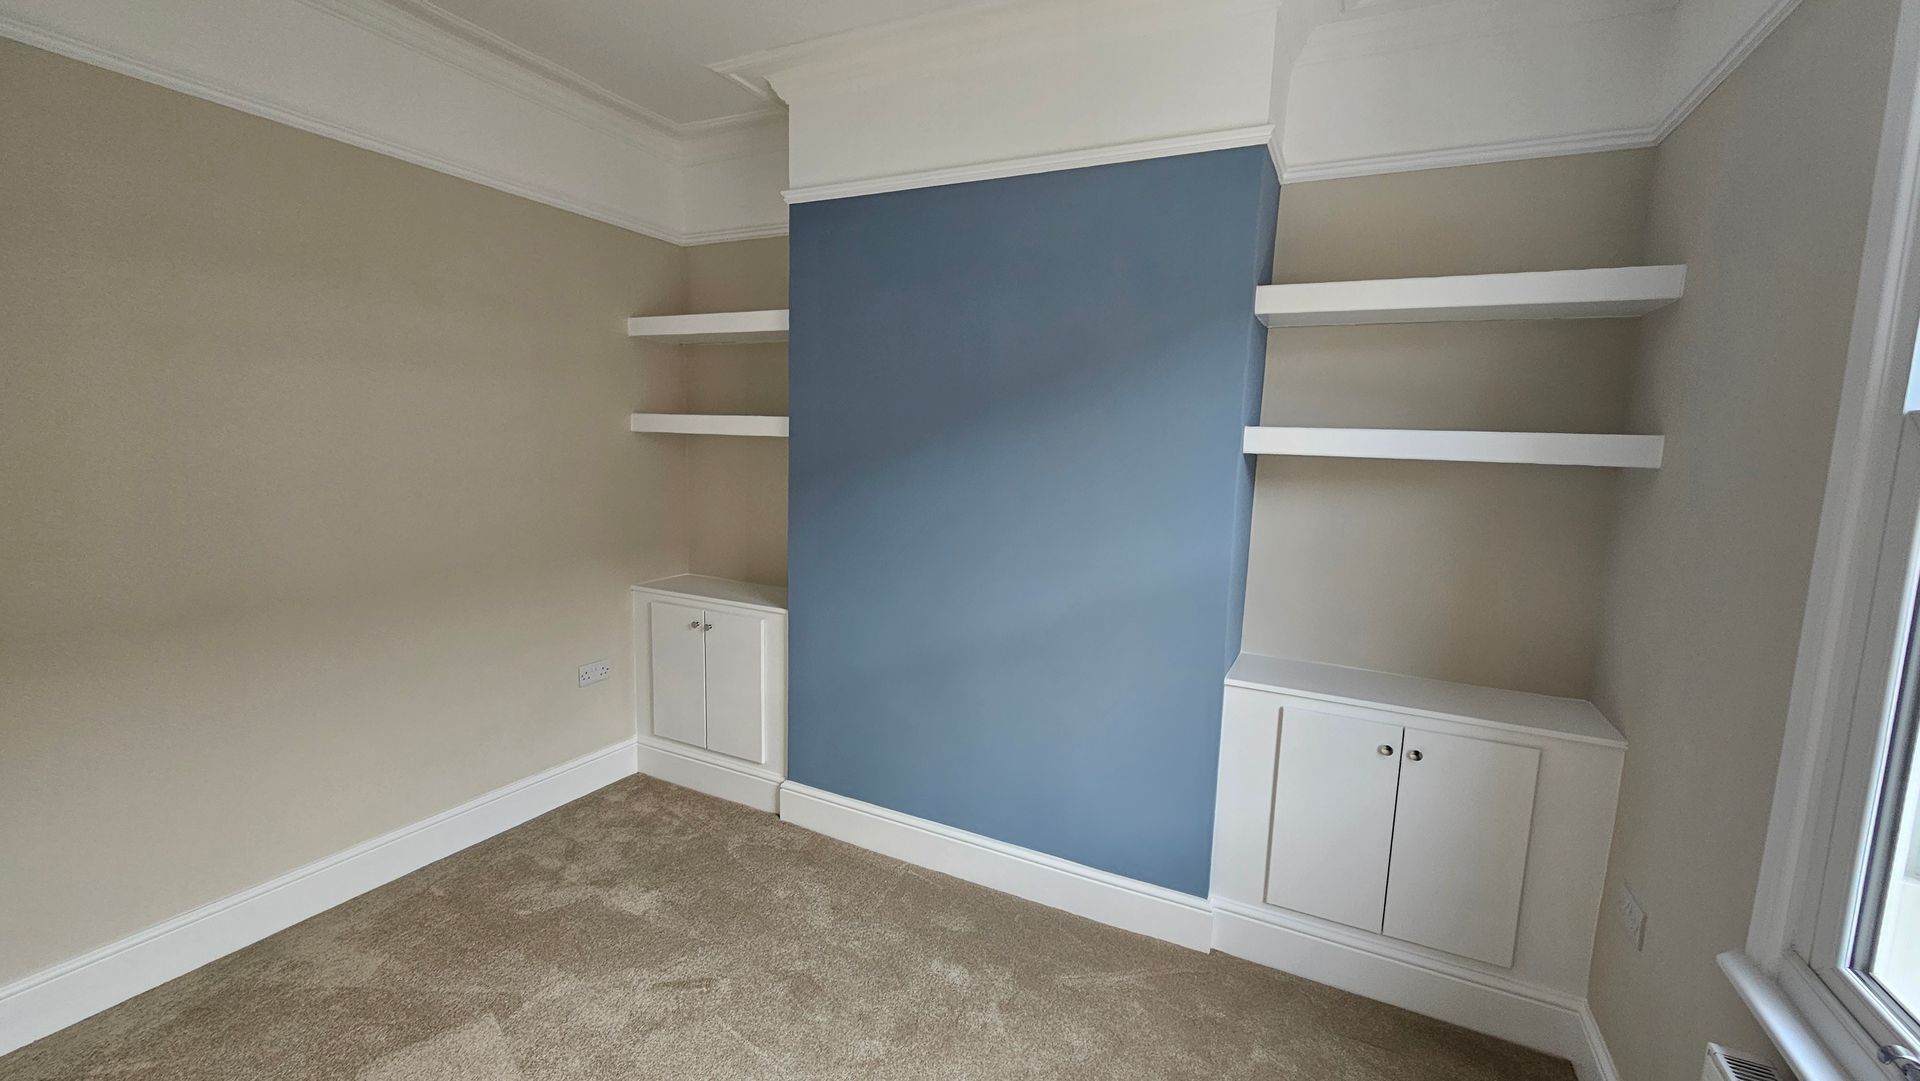
Decoration is also where the project's quality really shows. A great renovation with poor decoration looks unfinished. A modest renovation with excellent decoration looks expensive. We spend roughly the same number of days on decoration as on plastering, sometimes more.
Phase 6: Final fixings and snagging
The final phase brings together floor finishes, window dressings, electrical accessories, bathroom fittings, certificates and snagging. The precise order for hard flooring, skirting and final decoration follows the products and junction details agreed for the project.
Snagging is where the project meets the homeowner's expectations. A good snagging walk takes a full day on a full house renovation. Every door, every switch, every wall, every junction between trades gets checked. Anything that isn't right gets logged, allocated to the responsible trade, and fixed before sign-off.
Common order mistakes
• Fitting flooring before decoration. Spilled paint or texture compound on new flooring is expensive to fix. Hard flooring goes near the end, carpet last.
• Painting before plastering is properly dry. Lockup of moisture under paint causes patchy mottled finishes that show through every coat afterwards.
• Failing to agree the flooring, threshold and skirting details before second fix.
• Tiling before screed has cured. New screed needs at least 28 days before heavy adhesive tiling on top.
• Kitchen worktops templated before carcasses are fully level. Out-of-level carcasses give wonky worktop joints that never look right.
• Decorating before second fix joinery. Every paint surface has to be re-cut around new architraves and skirting, which doubles the painter's labour.
How long does a full renovation take
A full-house renovation programme is project-specific. Property size, structural work, approvals, specification, trade availability, drying conditions and lead times can all change the duration substantially. A detailed scope and survey are needed before a responsible programme can be set.
The biggest schedule risks are usually drying times in winter, supply chain delays on bespoke items (kitchens, bespoke joinery, tiling), and discovering hidden problems behind walls (rising damp, old wiring, sagging joists). A good renovation team builds float into the schedule to absorb these.
Getting it right from the start
The hardest part of a renovation is coordination. McHandy manages full-house renovation work in York and the surrounding area, bringing the required trades into an agreed scope and programme with a clear point of contact. The exact team, sequence, price and responsibilities are confirmed for each project. Our York Renovation service covers projects from planning through to finishing work. Call 07940 099 976 or visit our contact page for a free, no-obligation quotation.